Home / Blog / Guides & Setup
Guides & SetupTable QR Codes: Numbering, Sizes, Printing and Placement
How to generate table QR codes in Muncho, what size to print, where to put them, and the mistakes that make guests give up on the scan.
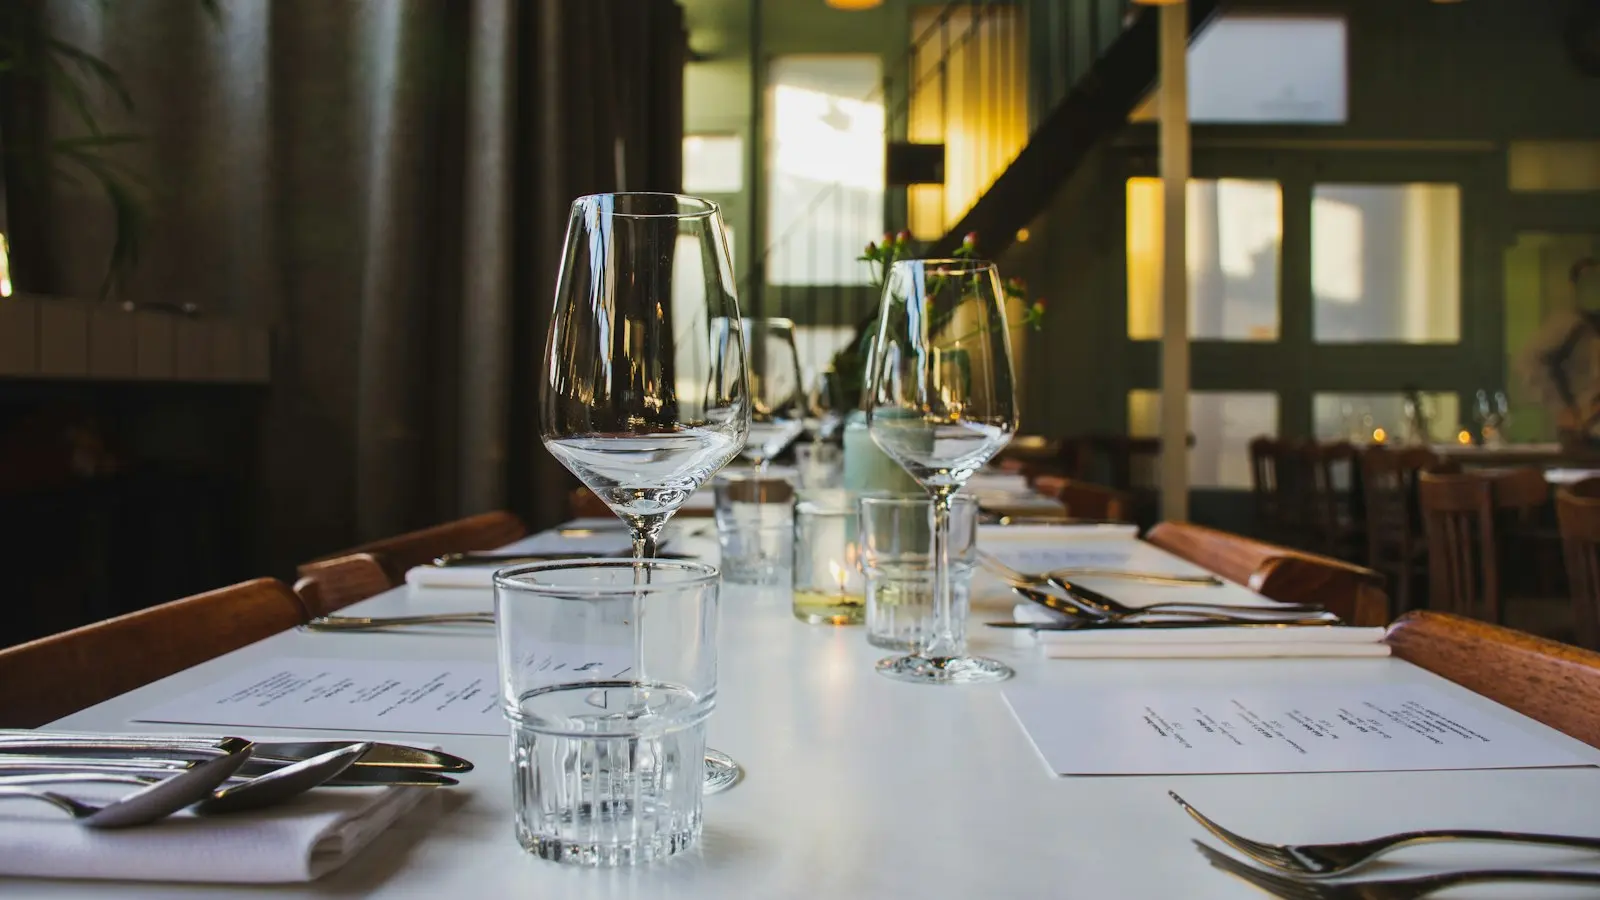
Table QR codes are generated per table on the QR Codes page in the Muncho dashboard, downloaded as PNGs one at a time or as a ZIP for the whole section, and printed at one of six preset canvas sizes. The table number is part of the link, so a code that moves between tables sends orders to the wrong place.
This is the physical half of a QR rollout. The software half is in QR code ordering for restaurants in India, and it comes with every plan, from Plus up, so beyond the plan the print run is the real cost of a rollout.
Where do table QR codes come from?
Tables are not created in the Muncho dashboard. They arrive from the POS sync, which is the right way round: the table numbers on your QR codes have to be the same table numbers that appear on your bills, and the POS is the system that owns those numbers.
If the QR Codes page shows "No Tables Found", the POS sync has not brought tables across yet. That is a sync question, not a printing question, and it is covered in how the PetPooja integration works.
What does the QR Codes page give you?
Open QR Codes & Tables in the sidebar. The page header reads QR Codes, and it only appears for dine-in outlets.
- Section. A picker plus the read-only Display Name and Outlet Code, so you know which part of the venue you are generating for.
- Dine In QR Codes. Select Table, then a read-only Table URL, then Download QR, Design QR and Preview.
- Bulk Download. Download All QRs, Design & Download All, and Download URLs.
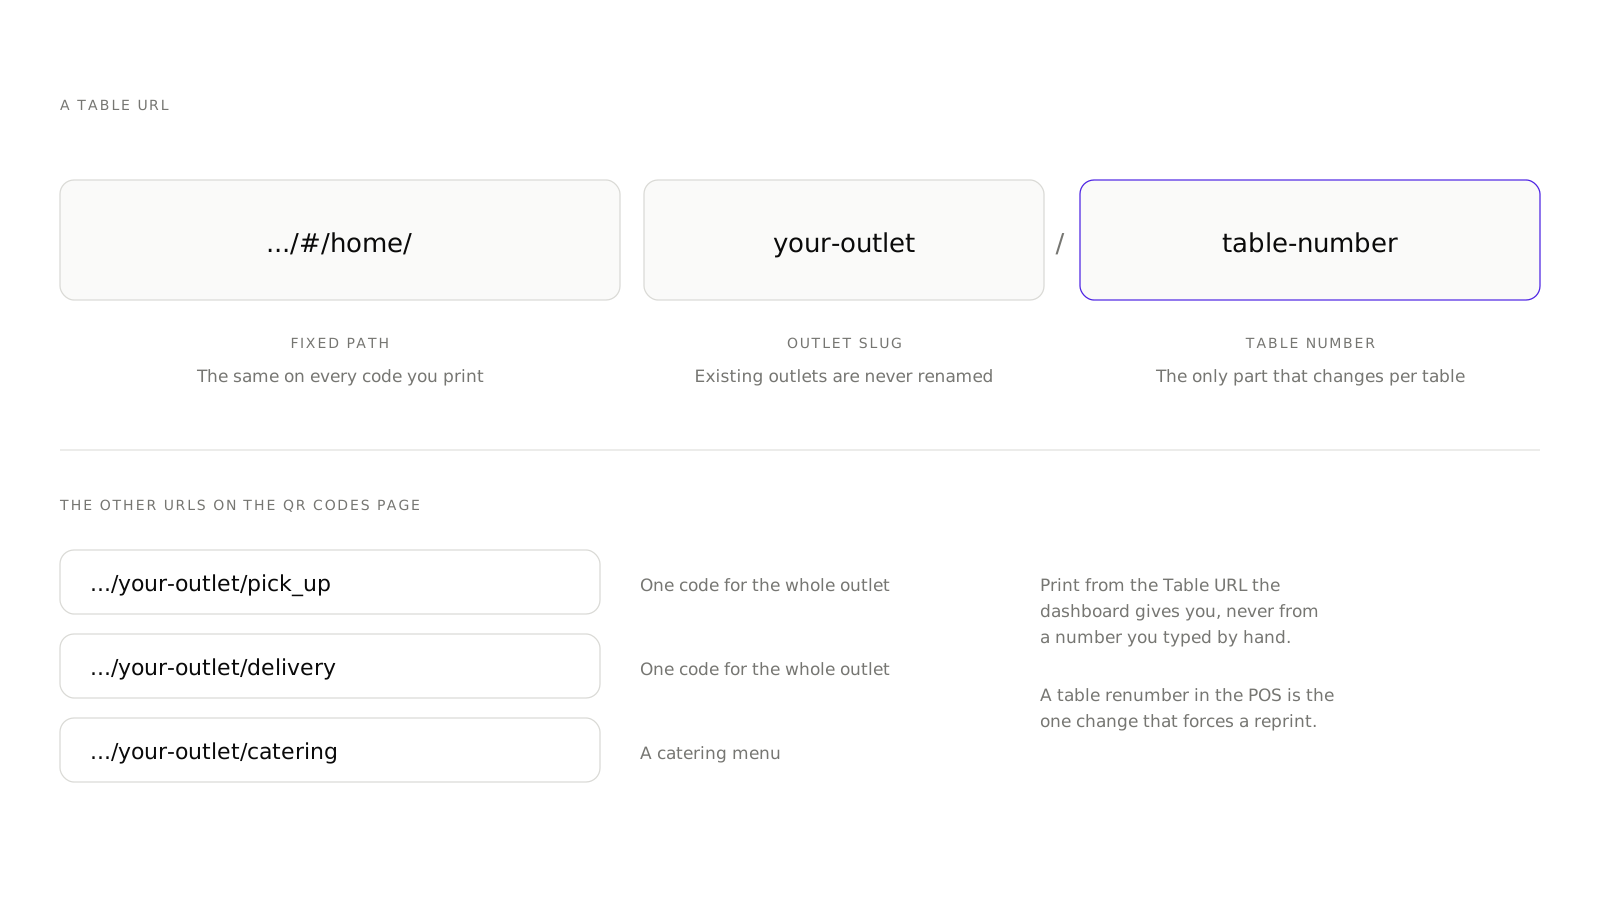
- Pickup QR Code. The Pickup URL and Delivery URL for the outlet, which are one code each, not one per table.
- Menu URL, for a browse-only outlet.
The URLs follow a fixed shape. A table is .../#/home/{outlet-slug}/{table-number}, pickup is .../{outlet-slug}/pick_up, delivery is .../{outlet-slug}/delivery, and a catering menu is .../{outlet-slug}/catering.
Output is a PNG per code and a ZIP for a bulk download. There is no print-ready PDF sheet, so the layout is yours to do in whatever you already use for table tents.
How do you design and print them?
- Open Design QR on any table. The styling saves per outlet, so you set it once and every table in that section inherits it.
- Pick a canvas preset. Square 4x4 inches, Portrait 3x4, Landscape 4x3, A6, A5, or Wide 16:9.
- Set the foreground colour. Dark on light. A light code on a dark card is the single most common reason a phone camera refuses to read it.
- Write the text. Font size and family are adjustable. Keep the wording to one instruction and the table number.
- Preview, then Download QR for the table you are testing.
- Test the printed sample with two phones, one Android and one iPhone, in the actual light of the room. Not at the desk.
- Bulk Download the section once the sample passes, and send the ZIP to your printer.
If you have no section to generate from yet, create an account and get the POS link requested first, because tables have to arrive before codes can.
What size and material should you use?
The code needs to be at least about 2.5 cm square on the printed piece, and comfortably more than that if the card sits flat on a table rather than standing up. A guest holding a phone at reading distance to a flat card is scanning from further away than you think.
Material matters more than size in a restaurant. A glossy laminate under a warm downlight throws a highlight straight across the code and kills it. Matte laminate costs the same and survives being wiped down. For outdoor seating, matte is not optional.
Acrylic table tents and standees hold up best over a year. Paper cards inserted into a menu holder are cheapest and fine if you accept reprinting them.
Where should the code go on the table?
Somewhere that never moves and is visible from a seated position.
- A table tent in the centre is the default and works everywhere.
- A sticker on the table edge survives busy floors and does not get cleared away with the glassware, but it needs a good matte vinyl or it scratches into unreadability.
- The back of the menu holder works if the holder is fixed to the table. It does not work if the holder travels.
Do not print the table code on the menu card itself. Menu cards move between tables, and a moved code puts a table 9 order on table 4's bill.
For bar counters with stool numbers, treat each stool position as a table if your POS does. If it does not, a single counter code that maps to one POS table is workable, as long as your staff know that a counter order has no seat number attached.
What should the card say?
Three lines, no more.
- The table number, large, so a staff member can read it from standing.
- One instruction: "Scan to see the menu and order" or "Scan to pay your bill", matching the flow you actually run.
- Nothing else. No logo the size of the code, no social handles, no promotional line. Every extra element is something a guest's eye has to get past.
If you run order and pay, say ordering. If you run view and pay, say the bill. A card that promises ordering at a table where ordering is off is a complaint waiting to happen.
What breaks a QR rollout?
- Low contrast. Brand colours on the code itself. Use a dark foreground on white and put the colour in the surrounding card.
- Glossy lamination under spotlights.
- The code too small, usually because someone fitted a logo and a tagline onto a 3x4 inch card.
- Table numbers that do not match the POS. Print from the Table URL the dashboard gives you, never from a number you typed by hand.
- Codes printed before the menu is right. Reprinting is the expensive mistake. Get the menu correct first.
- No fallback. Some guests will not scan, ever. Keep a few physical menus.
Do you need to reprint when something changes?
Usually not.
Menu changes never require a reprint: the code points at a live page. Price changes, new dishes and out-of-stock items all flow through without touching the print.
Changing the ordering flow does not require a reprint either, as long as the card's wording still matches. Changing Initial login or Guest login does not.
The one case that forces a reprint is a table renumber in the POS, because the number lives inside the link. Which is a good reason to settle your table numbering before you order a thousand table tents.
Once the codes are out, the next thing to set is what a guest has to give you before they can order. That is Dine-in Settings.
Questions restaurants ask
What size should a table QR code be printed at?
The QR Codes designer offers Square 4x4 inches, Portrait 3x4, Landscape 4x3, A6, A5 and Wide 16:9. For a table tent, 3x4 inches portrait is the usual choice. Keep the code itself at least 2.5 cm across.
Do I need a different QR code for every table?
Yes for dine-in. The table number is part of the link, which is how the order reaches the right table. Pickup and delivery need one code each for the whole outlet.
Can I download all my table QR codes at once?
Yes. The Bulk Download control offers Download All QRs, Design & Download All, and Download URLs, which gives you the raw links if you want to lay them out yourself.
What happens if I rename my outlet? Do the printed codes break?
Existing outlets are never renamed, precisely so printed QR codes keep working. New outlets get a readable slug automatically.
Can I put the QR code on the menu instead of the table?
For dine-in ordering, no. A code on a menu card that moves between tables sends orders to the wrong table. Put the table code on something that stays on the table.
Run this on your own menu
QR ordering at the table, your own delivery and pickup storefront, and payments straight to your account. India plans: Plus Rs 11,999, Pro Rs 23,999, Max Rs 49,999 a year per outlet, plus GST. Usage comes from your wallet.
Related reading
 Guides & Setup
What Is Scan and Pay? Settling a Restaurant Bill From the Table
Scan and pay lets a guest scan the table code, land straight on the printed bill and settle it. Here is how it works and when it does not.
 Guides & Setup
Cover Charge for Pubs and Clubs: Pricing, Redemption, Reporting
How to price a cover charge by day, collect it at the door, redeem it against the bill, and read the redeemed versus non-redeemed split the next morning.
 Guides & Setup
Setting Delivery Charges and a Delivery Radius That Pays
Fixed or per-kilometre, how far to deliver, free delivery thresholds, packaging, and the two things Muncho deliberately does not have.